Today I've been practicing compositing the layers that will be rendered out. This will be done in After Effects. So far we're having a colour, ambient occlusion, ray traced shadow, global/final gather, and a Z-depth pass. I think thats quite enough for one person to cope with!!
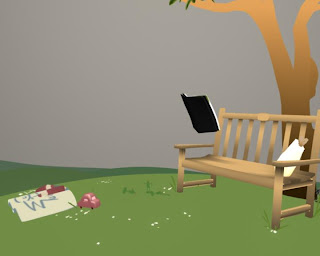 Colour pass
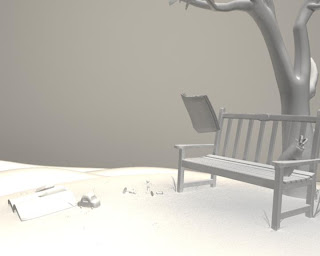
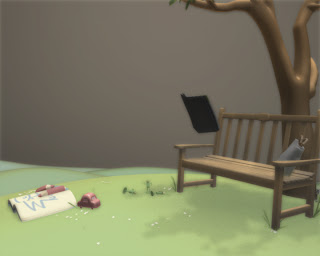 The image above is of all the layers composited in After Effects. I adjusted the levels of all the shadow passes, the hue and saturation of the colour pass and added a Gaussian blur to the ray traced shadow layer. This is perhaps too blurry, but I'm liking the dreamy effect it produces.
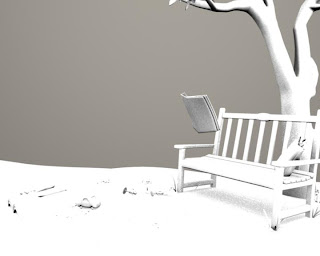
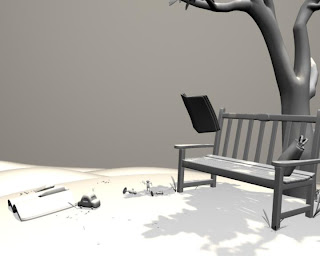
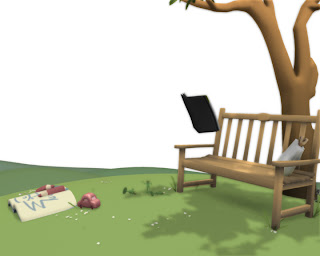 I realised that I didn't have the background colour set to white. Having the background as black resulted in the shadow passes being a lot darker than they should be, particularly the final gather pass. Above is a composited image of the re-rendered passes.
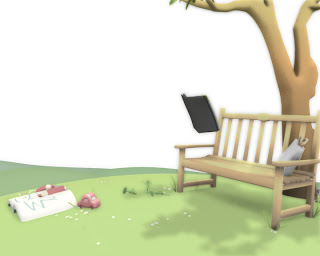
(Above) Playing with the Exposure filter in After Effects
1 comment:
Funny that the darkest object in the picture is the lightest (floating in mid air).
Get some crunchy darks under that bench so as to `anchor´ your contrasts.
Nice progress Matt. :¬)
Post a Comment